Tuesday 15 February 2011
Thriller research - Se7en
Editing
The editing within the clip is very fast which makes it seem as though the film is not going to drag on and be a slow moving film, the film will be fast and full of suspense. It also makes sure that you do not see too much so that you don't try and read into things, it mainly just wants to show you quick shots so that your mind cannot keep up with the thrill.
Black cuts are also used as transitions to show the actors names, the production companies and directors. This can sometimes attract the audience as the names are big and good actors and produced by well known companies, this can also make the audience think of what they are to expect.
Camera shots
There are many close up shots used, mainly consisting of showing you somebody's hands. This creates suspense for the consumer because they want to know who the person is and what they are doing. The person is seen writing in a book, and we cannot see what they are writing, once again this can create suspense and also tension. It makes the consumer inpatient and they want to carry on watching because they want to know what the book is saying and who the person is. This is a classic thriller convention, as they do not want to give too much away at the beginning of the film so they decide to keep you enticed by not giving out too much information. We also see a lot of close ups of the book which if you were to read into the lines before you carried on watching the film, you would realize that the book is a very big part of the film. Pictures of many different people are shown and also different words are given close up shots. This is once again done to create suspense.
Sound
The music used in the clip sounds very electric but also 'eery'. There are many different screeching sounds used which can make some people 'cringe' as these are not sounds which are nice to your ears. The screeching sound is used to make people feel edgy and aware. The music that is used is typical of a thriller as the music is not nice to your ears and it is not something that you would listen to if you wanted to be happy. At the end of the clip the sound drags out and ends on a bang, this ends the suspense and shows the beginning of the film.
Panic Room - Internet Audience Research
Sound When the scene begins, there is a sound of thunder which is done because a lot of people feel out of their comfort zone when thunder and lightening are about as they are a danger to them. After the sound of thunder, a soundtrack comes onto the opening sequence and it sounds like a lot of brass instruments as the music is very heavy which is typical of the thriller genre. Halfway through the sequence when the title appears, the music becomes heavier and louder which puts an impact on the name of the thriller. Another sound that I heard when listening to the soundtrack was some sounds of traffic which could possibly set the scene for the audience and let them realise that they are in the center of a city. Editing There is not a lot of editing within this clip because it is a lot of title sequences in a very futuristic, modern way which does the job rather than have a typical white font on black background which many thrillers do e.g. Seven. The editing is mainly just straight cuts but I think that this is done deliberately so that it can get the information that it needs across as fast as possible, whilst making an impact. It impacts on the names of the actors and also the directors etc. Camerawork The majority of the camerawork focuses on building so that they can edit the titles into the sequence. They are mostly long shots and this is done to establish the different buildings so that the audience can start to figure out where the film is set.
Introduction to Thriller
Thriller is a genre in the film industry and it aims to keep you enticed and to generally thrill you. It uses suspense and tension to keep you watching as these are key conventions which keep you enticed. Thriller films are very popular and their trailers are normally also very interesting to watch as they tend to not give away the story line, they don't want you to go into the film knowing the base of the storyline.
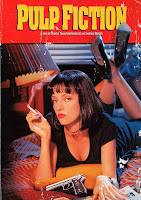
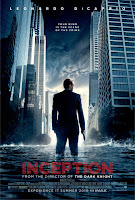
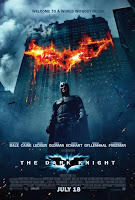

IMDb shows on its 'movie database' website that 'Pulp Fiction', 'Inception', 'The Dark Knight' and 'Fight Club' are some of the most popular thrillers to people in the world.
Before we decide to shoot our clip we will watch thriller films like these examples to give us some ideas and inspiration. Watching the first two minutes of these films can be a good way to choose what we should do with our clip. We can decide what we think works and what we think doesn't look right. This will help us to get the conventions that we need in to our clip and then we can use them in our filming.
Editing lesson 3
Unfortunately for this lesson I was away on holiday. This meant that I did not manage to contribute when it came to the decision of whether or not to put music over the top of the clip. Although I was not here I think that the group did a really good job of finishing the clip as it has all come together very well. Jay found a audio clip and the group decided to use this and put it over the clip.
Editing lesson 2
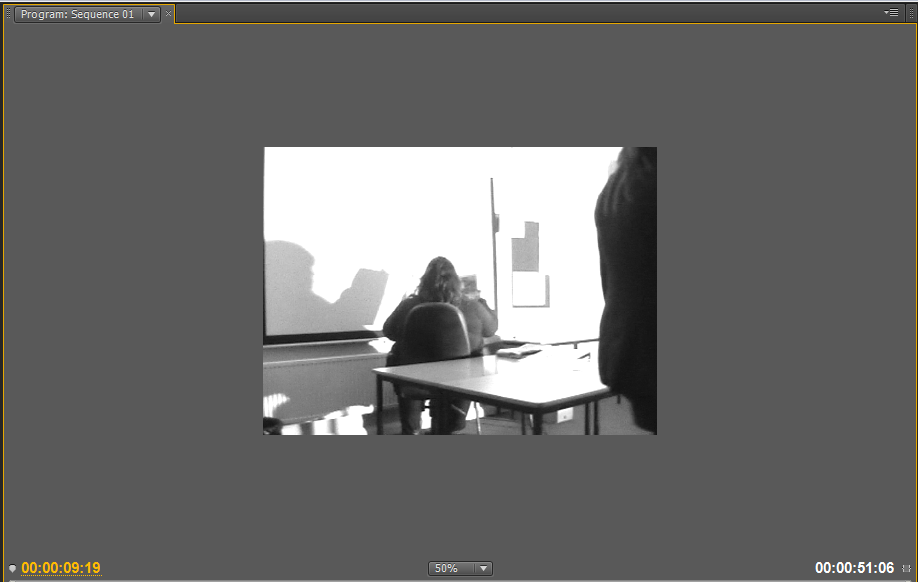
In last lesson we cut out the scenes which we thought we did not need to be in our clip. This meant that in this lesson that we could spend time on some harder editing which would focus more on the appearance of the clip rather than the sequencing. We wanted to change the colour of the clip to something different as the colours that were used did not give the clip the correct conventions of a thriller. We tried 'sepia' and enhancing the colours that we already had but we finally decided on using a black and white theme, we chose this design because of the effect that it gave. It made the film seem a lot more tense and people would not know what to expect from the film when watching it for the first time. The black and white theme makes the film look a lot more defined as you can see the shadows better within the film which creates more tension.
Next we wanted to edit the way that all the clips were put together e.g. the way they transition. We wanted to make sure that the consumers felt tense so we decided that we would mainly just used black straight cuts as this is a fast shot and simple but effective. We also wanted the clip to seem mysterious so some slower transitions were put in such as 'fade'
Throughout the clip when there is dialogue there is some buzzing noises which is from natural sources. Unfortunately for the preliminary task we did not have enough time to get rid of the noise and record over the clip. This would have been very complicated also and we managed to slightly reduce the buzzing noise in some clips as we muted the clips with no dialogue in. Our film is nearly finished as we have done the audio and appearance today but we will decide next lesson as to whether or not we want to put a track over the top of the clip for more tension.
Monday 14 February 2011
Editing lesson 1
One of the options that we thought about adding to our film was to voice record over the filming. This was an option because we were told that the original sound which is recorded on the video camera normally tends to have a buzzing sound when the clip is being played. This is because of the natural sounds of reality have come into the filming from objects such as computers and people in different classrooms faint voices. We were planning on finding a quiet room and recording the dialogue but the technician told us that this would make editing rather difficult so we decided that we shouldn't bother as we did not have loads of time. Nobody in our group had edited anything on Adobe Premiere Pro CS4 before so we didn't want to make things more difficult than they had to be.
The technician kindly came and showed us how to use some of the editing tools on Adobe Premiere Pro Cs4 program as none of us had used the program before and didn't have a clue what to do. He taught us how to cut out some scenes which we didn't want using the 'razor tool' and we could see from the basics and common knowledge how to change the colour of different scenes etc. The 'razor tool' allows you to cut shots out of a scene which you do not
Saturday 12 February 2011
Filming
As the props that we needed were already completed (photos) this meant that we could start filming on Thursday afternoons double media lesson. When we go into the lesson we straight away got into shooting as we wanted to get the best out of the time we had. When we were filming we decided that we would take time in deciding where our lighting should go and the different shots that we should use.
When we were taking time in deciding what shots to use we ended up changing a few shots throughout our time together. This was because we wanted to create more suspense and make the clip as thrilling as possible.
We went into a classroom to do our filming and moved things around to try and make it look like an office. We created a desk for Sam to sit at with me at the other end as she was supposed to represent a 'gangster' and I was supposed to talk to her throughout the clip.
We definitely achieved what we wanted to as all of the work that we wanted to be done was finished. This meant that we could edit the filming next lesson.
Planning for the Preliminary Task
Before we had a double media lesson on the Thursday a
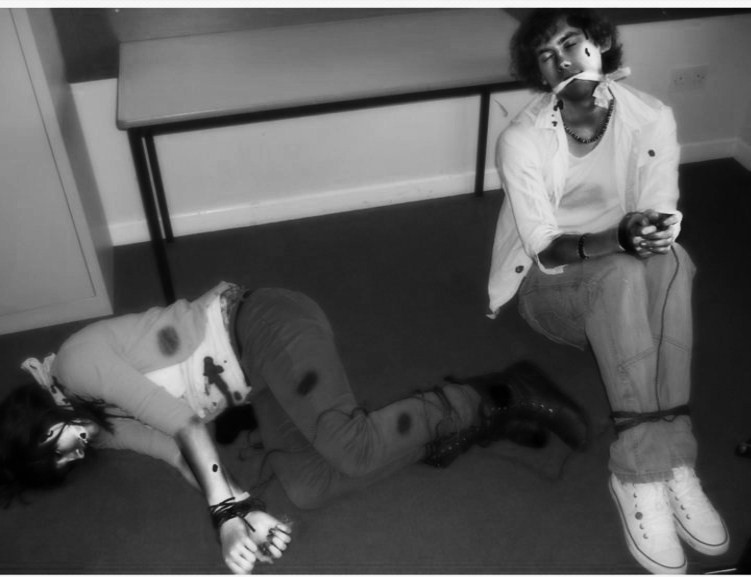
fternoon, Rachel, Sam and Jay decided that they would take advantage of their free periods on Wednesday to go and take some photos which would save time for us on the Thursday. I had a full day in college so could not go with them unfortunately but they created some great results. The photos were of Rachel and Jay and they showed them taken hostage which was part of our storyline. They used props to help the photos look more realistic and Rachel used a program called 'Picnik' over the internet on the Wednesday night to also help make them look realistic. This was the final image that was decided on.
Tuesday 8 February 2011
Tuesday 18th January
I unfortunately was not here for this lesson as a I had my sociology exam. Although I was not here, my group managed to get some ideas together and they chose to do a thriller clip. They chose a thriller clip because they believed that there were many different options within editing and camera shots to change the way that the shots looked when filmed.


Once they had decided on the thriller genre, they began to create some storyboards.
In the storyboards that they completed they wrote down the different camera shots that they would be using in each clip, edits between the shots and different sounds. This made it a lot easier for filming because we would know what to do straight away. The clip that we are shooting should last no longer than 30 seconds. This means that there will be lots of quick shots which will make the thriller genre take place due to the conventions that we can use.
Subscribe to:
Posts (Atom)