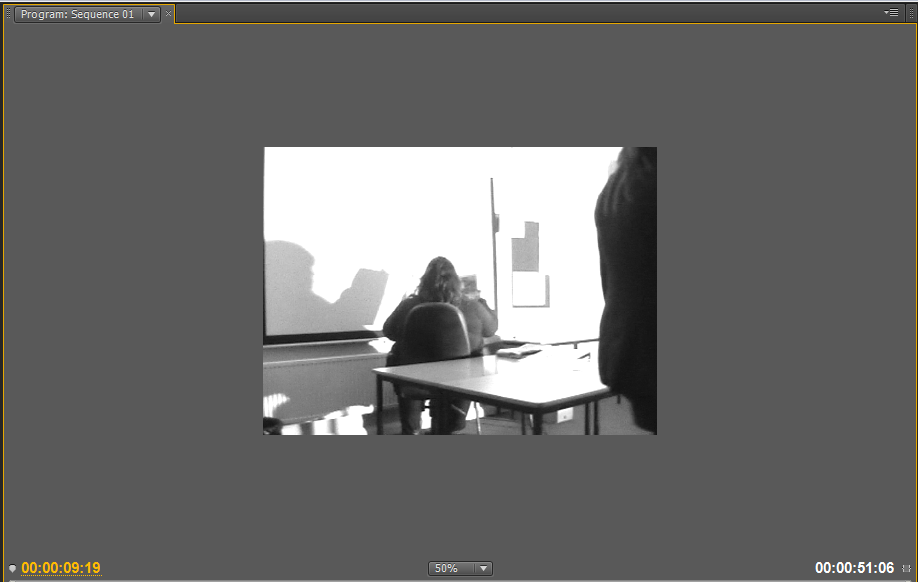
Next we wanted to edit the way that all the clips were put together e.g. the way they transition. We wanted to make sure that the consumers felt tense so we decided that we would mainly just used black straight cuts as this is a fast shot and simple but effective. We also wanted the clip to seem mysterious so some slower transitions were put in such as 'fade'
Throughout the clip when there is dialogue there is some buzzing noises which is from natural sources. Unfortunately for the preliminary task we did not have enough time to get rid of the noise and record over the clip. This would have been very complicated also and we managed to slightly reduce the buzzing noise in some clips as we muted the clips with no dialogue in. Our film is nearly finished as we have done the audio and appearance today but we will decide next lesson as to whether or not we want to put a track over the top of the clip for more tension.
No comments:
Post a Comment